So, confession time… this is not my first experience with graphic design.
Now, from one fellow teacher to another, I’m realizing that I probably shouldn’t have said anything because now you’ll have expectations of me, so I think I should clarify a few things:
- I have absolutely no formal training.
- 99% of my graphic design experience is in Corel Draw, 1% is with Photoshop.
Why would I have graphic design experience but no training? Well, my mom bought the town’s trophy shop when I was 13 and it just so happened to be 3 blocks away from my middle school. I might have been a weird child, because I always went to the shop after school. In all fairness, it got me out of taking the bus and she usually gave me enough money at the end of the day to go buy a milkshake from the burger joint next door.
I don’t think my many years of trophy and plaque designing has given me much of an edge in this class. That 1% of time in Photoshop was typically me using it in an attempt to clean up logos, getting irritated after 20 minutes of trying to make the tools work, and then switching back over to Corel to fix the logo in what my husband lovingly calls the “long and time-consuming way”. The one thing I think it has given me an edge on is that I have a lot of experience with setups and identifying ways they can be improved, like to the point where I can tell if something is just 1/16 of an inch off (it’s a weird, kind of useless, and usually very irritating superpower). It might also help explain why I’m so picky when it comes to making things.
So why did I throw myself under the proverbial bus and mention my background? Because, as a person who has regularly been given raster logos and had to find a way to make them vector, I LOVE the concept of Illustrator and what it can do. As a rational individual who wants things to be pretty straight forward and user-friendly, Illustrator is incredibly frustrating.
Anyways, you’re here for a logo. I’ll remind you that the whole project started with me going to Misty, who gave me the idea to make a logo for our next staff shirts. The criteria were:
- Had to include school colors: red and black, gray and white could be used.
- Should have a wolf.
- Should have our four pillars on it (respectful, responsible, safe, and determined).
- Should have the words “staff” and “timberwolves”, if possible.
Our current staff shirts have one of those word collages on it, so I think that got stuck in my head when I started sketching. It lead me to drawing this:
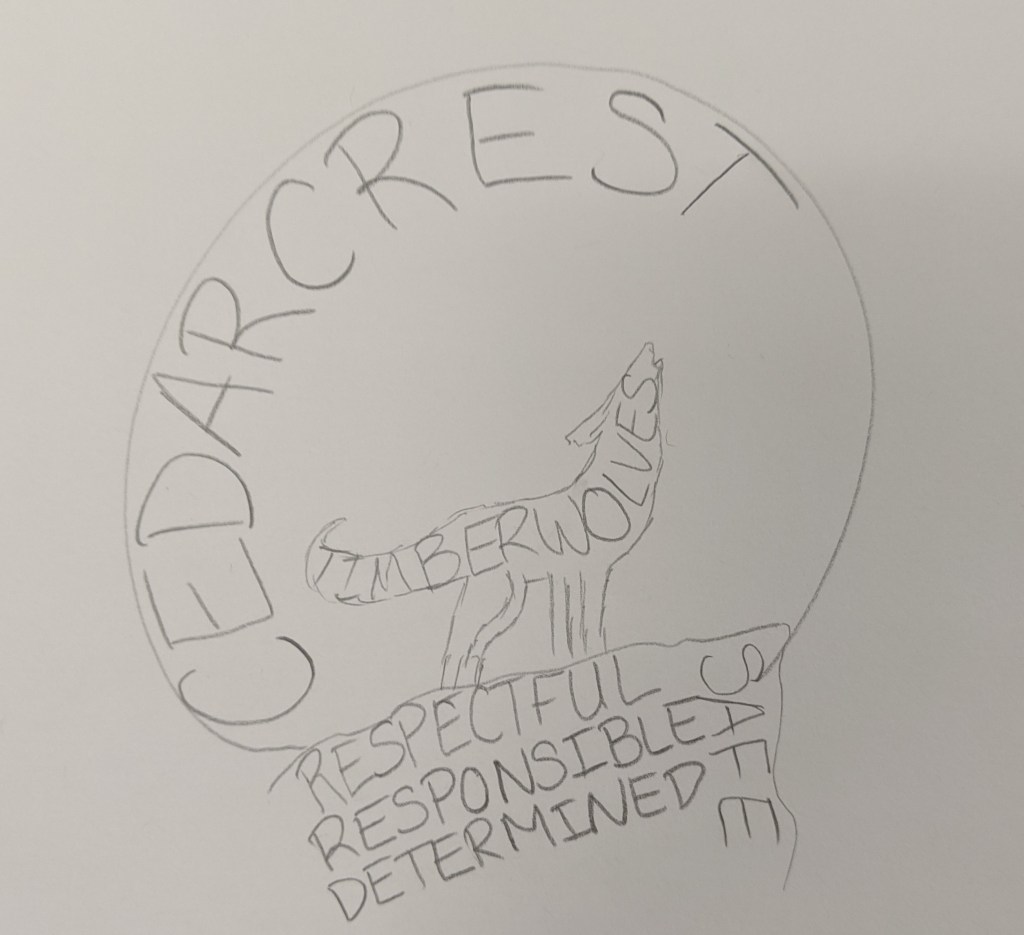
When I drew it, I liked the idea but thought it would be too busy. I sent it off to Misty and got the go-ahead. I created this:
I drew the wolf using the pen tool. It started out as anchor points with flat lines, but then I gave it some curves using the curvature tool and the anchor point tool. Then I decided to focus on the moon. I knew it was possible to create text that formed shapes, but had no idea how to do it, so I went down a Google rabbit-hole. I found a few tutorials that walked me through the steps, and it turned out the process was pretty easy. All you need to do is create the text, create the shape, (make sure the shape is the top layer), and then use the “envelope distort- make with top object”. Creating the moon and rock formation took almost no time. I ran into an issue though when it came to modifying the text of the moon shape to fit the wolf. I assumed I could use the shape builder tool to create the form I wanted, but it wouldn’t work. After playing around with grouping options/shape builder and getting nowhere, I just decided to use the pen tool to outline the shapes to create a new one. I ran into another issue when it came to putting the words in the wolf. For some reason the text kept recognizing anchor points that didn’t actually exist, so it distorted the text so much that you couldn’t read it. I tried with different words (Timberwolves, Staff, Cedarcrest) and decided that staff worked best since it was the shortest word. I tried to look for another way to warp the text and found another video that showed me how to use the “make with mesh” option under the envelope distort feature. Some people probably don’t like that tool because it takes a lot more time, but I actually really liked the ability to modify each letter and get the text to look exactly how I wanted it to. It was time-consuming, but for a control freak like me, very satisfying.
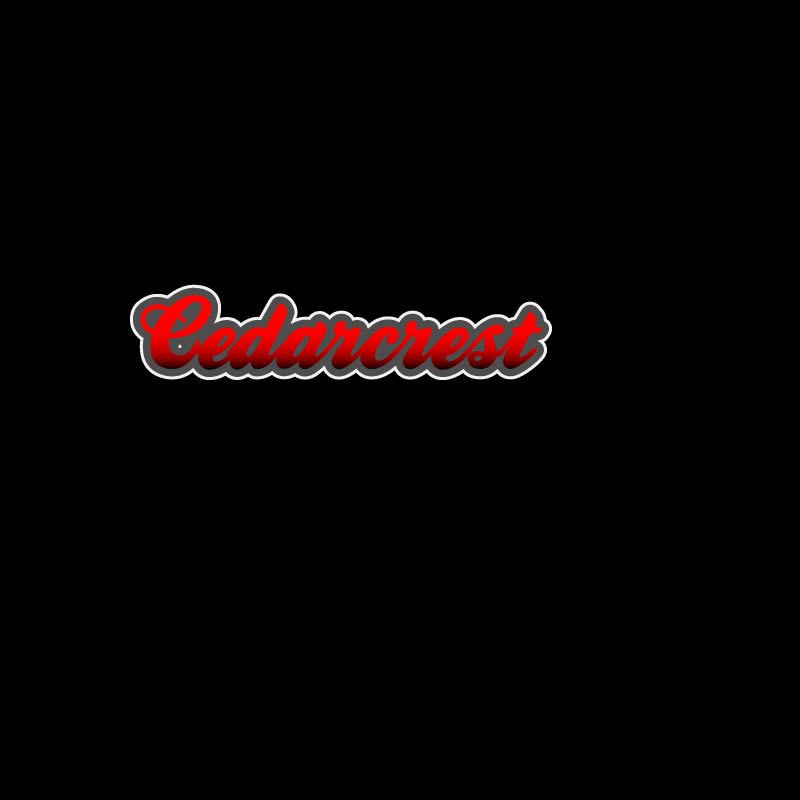
When I was done, I still didn’t love the logo because I thought it was too busy, so I played around with what I learned from the Varisty tutorial to create the Cedarcrest text. To make the text I played with the text kerning, the gradient tool, and adding multiple strokes.
I was really unhappy with how hard it was to read staff in the wolf, so my first solution was to fill the wolf in:
I also took some time to fix the words in the rock and modify the letters in the moon so that it was easier to read. I liked it, but it didn’t meet all of the guidelines that Misty had given me, so I tried another setup:
I thought this would make the words easier to read. I switched the gradient on the Cedarcrest font so that the red was pointed towards the red rocks and the black was on the top; I think I was thinking of the sun setting and the moon rising when I did it.
I was a little bit happier with this, but still thought it was too busy. I spent days telling myself I was just being too picky, and then realized that I shouldn’t be the only person’s opinion that matters. S. She agreed with me that they had good elements, but they were too busy. We started moving things around and ended up with a bunch of different layouts.
Since we agreed that the layouts were too busy, we started cutting stuff out. The pillars were the first things we ditched. While they are important to our school culture, they aren’t as important as our name or the wolf. She really wanted to keep the “staff” in the design, but we agreed that it didn’t need to be huge. We left it in the moon because it still showed the cool text wrapping and gave the effect of the wolf howling at the moon.
Misty pointed out that the staff font stuck out like a sore thumb and didn’t work that great with the Cedarcrest lettering. I changed the “middle school” font to be the same as the moon in an attempt to pull it all together. Once it was changed it became pretty obvious to us that the simplistic layout was the best. This ended up being the logo that we liked the most (and my official final product):
